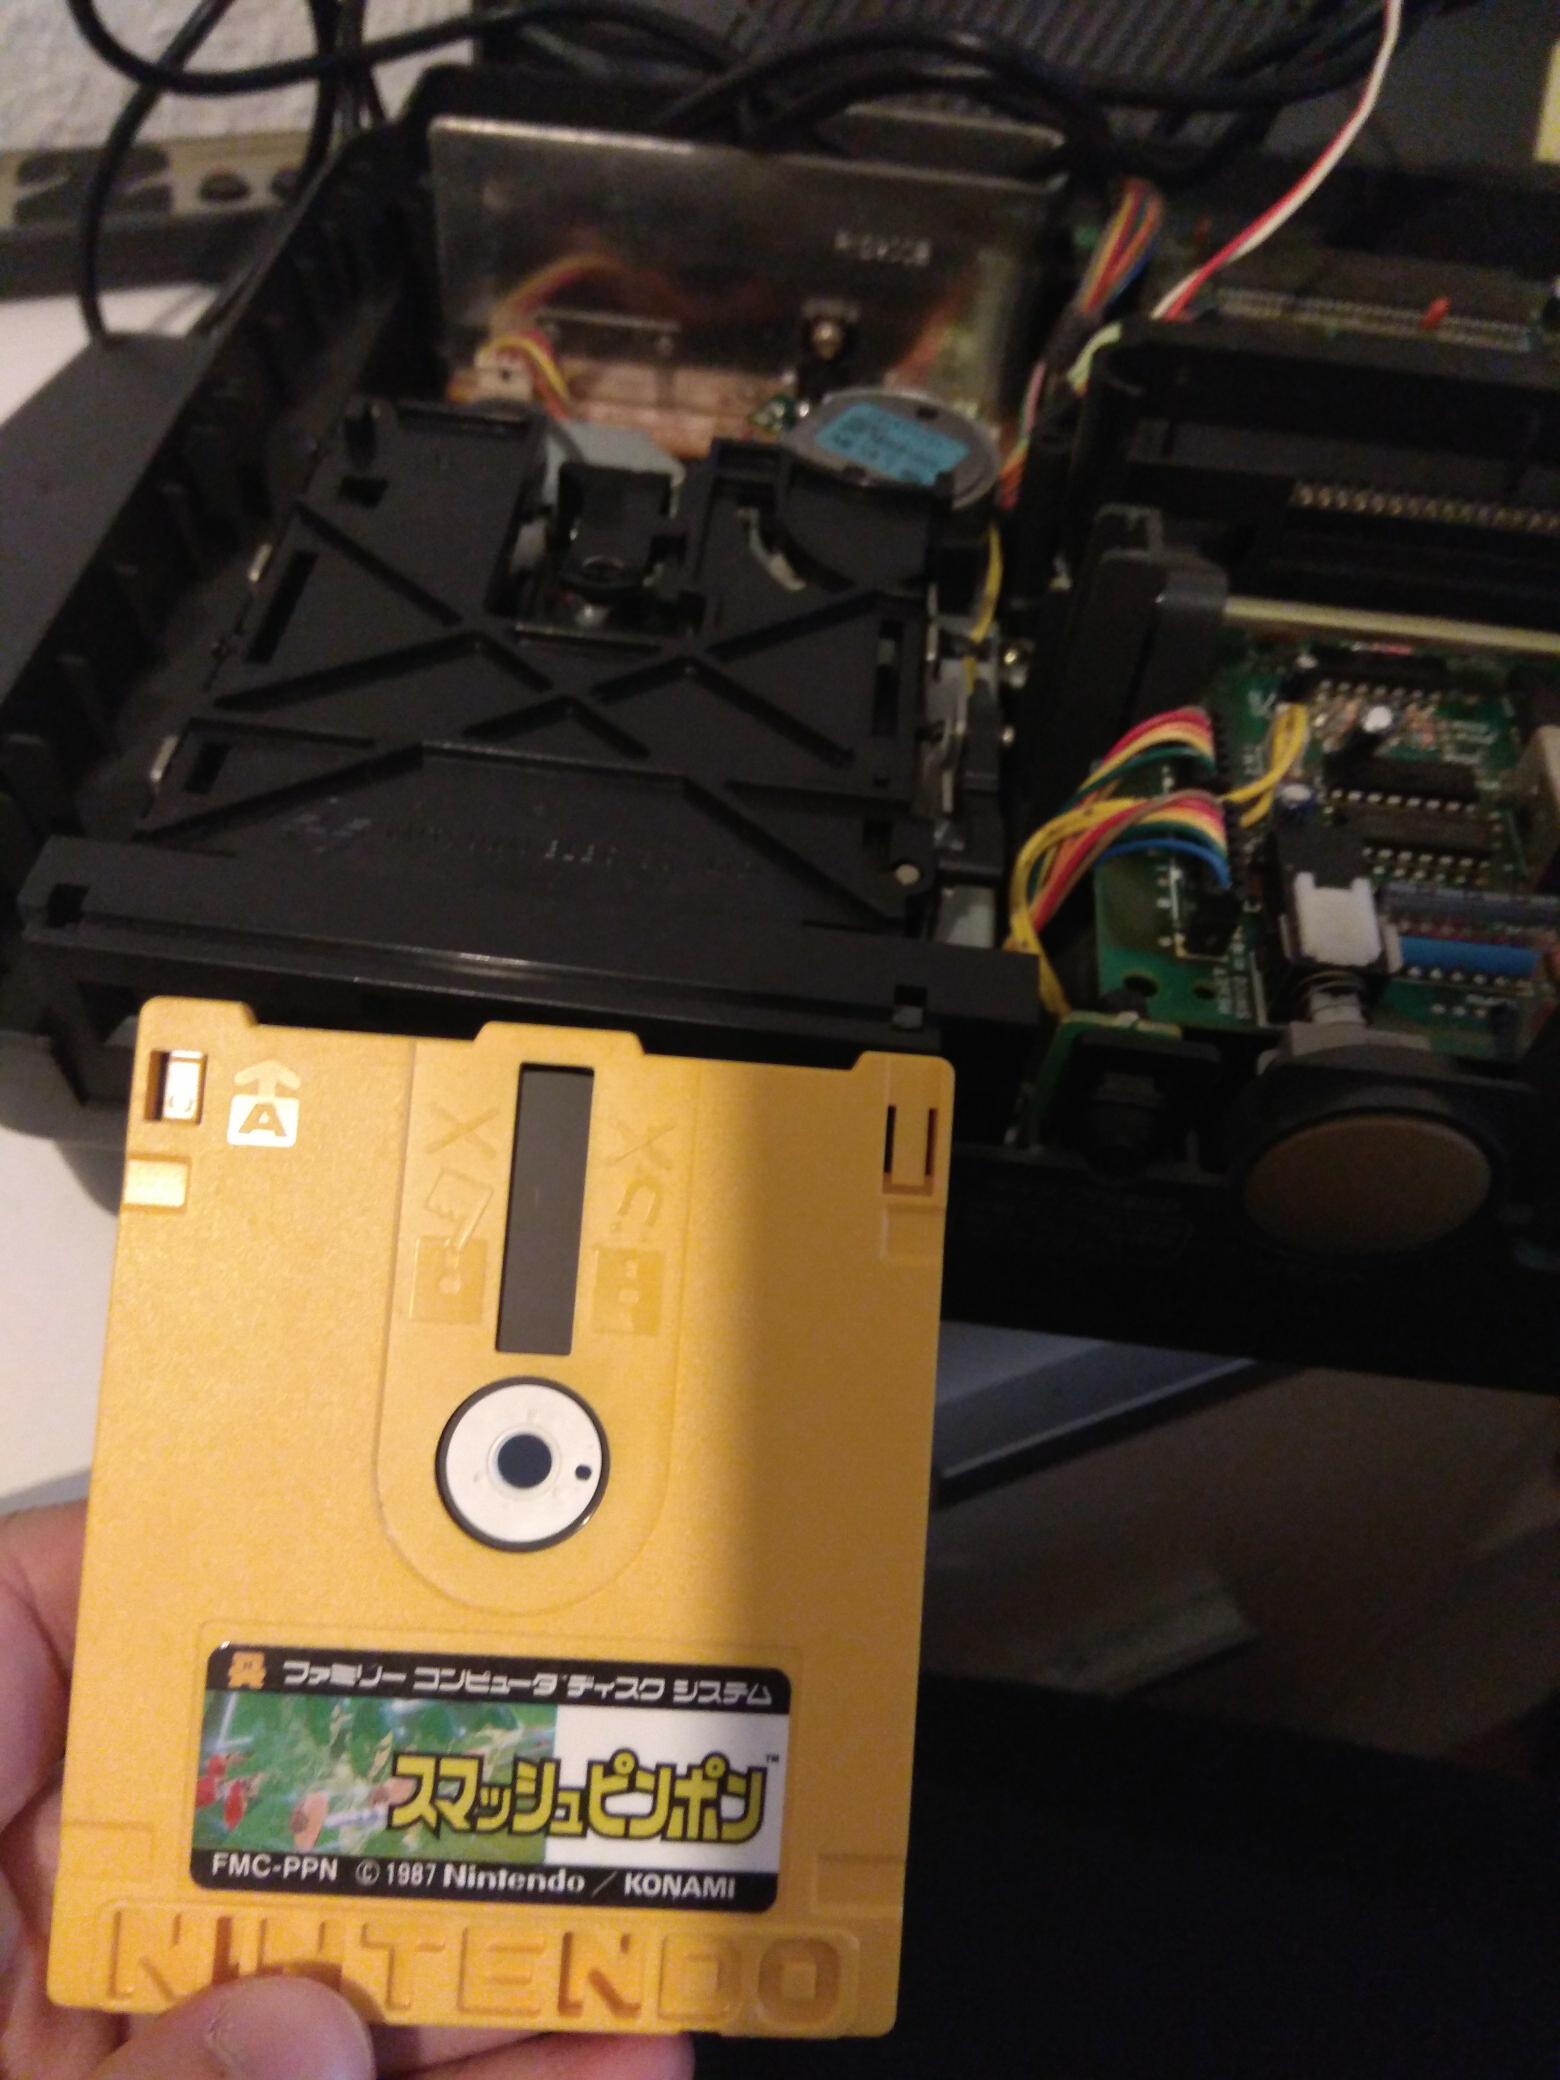
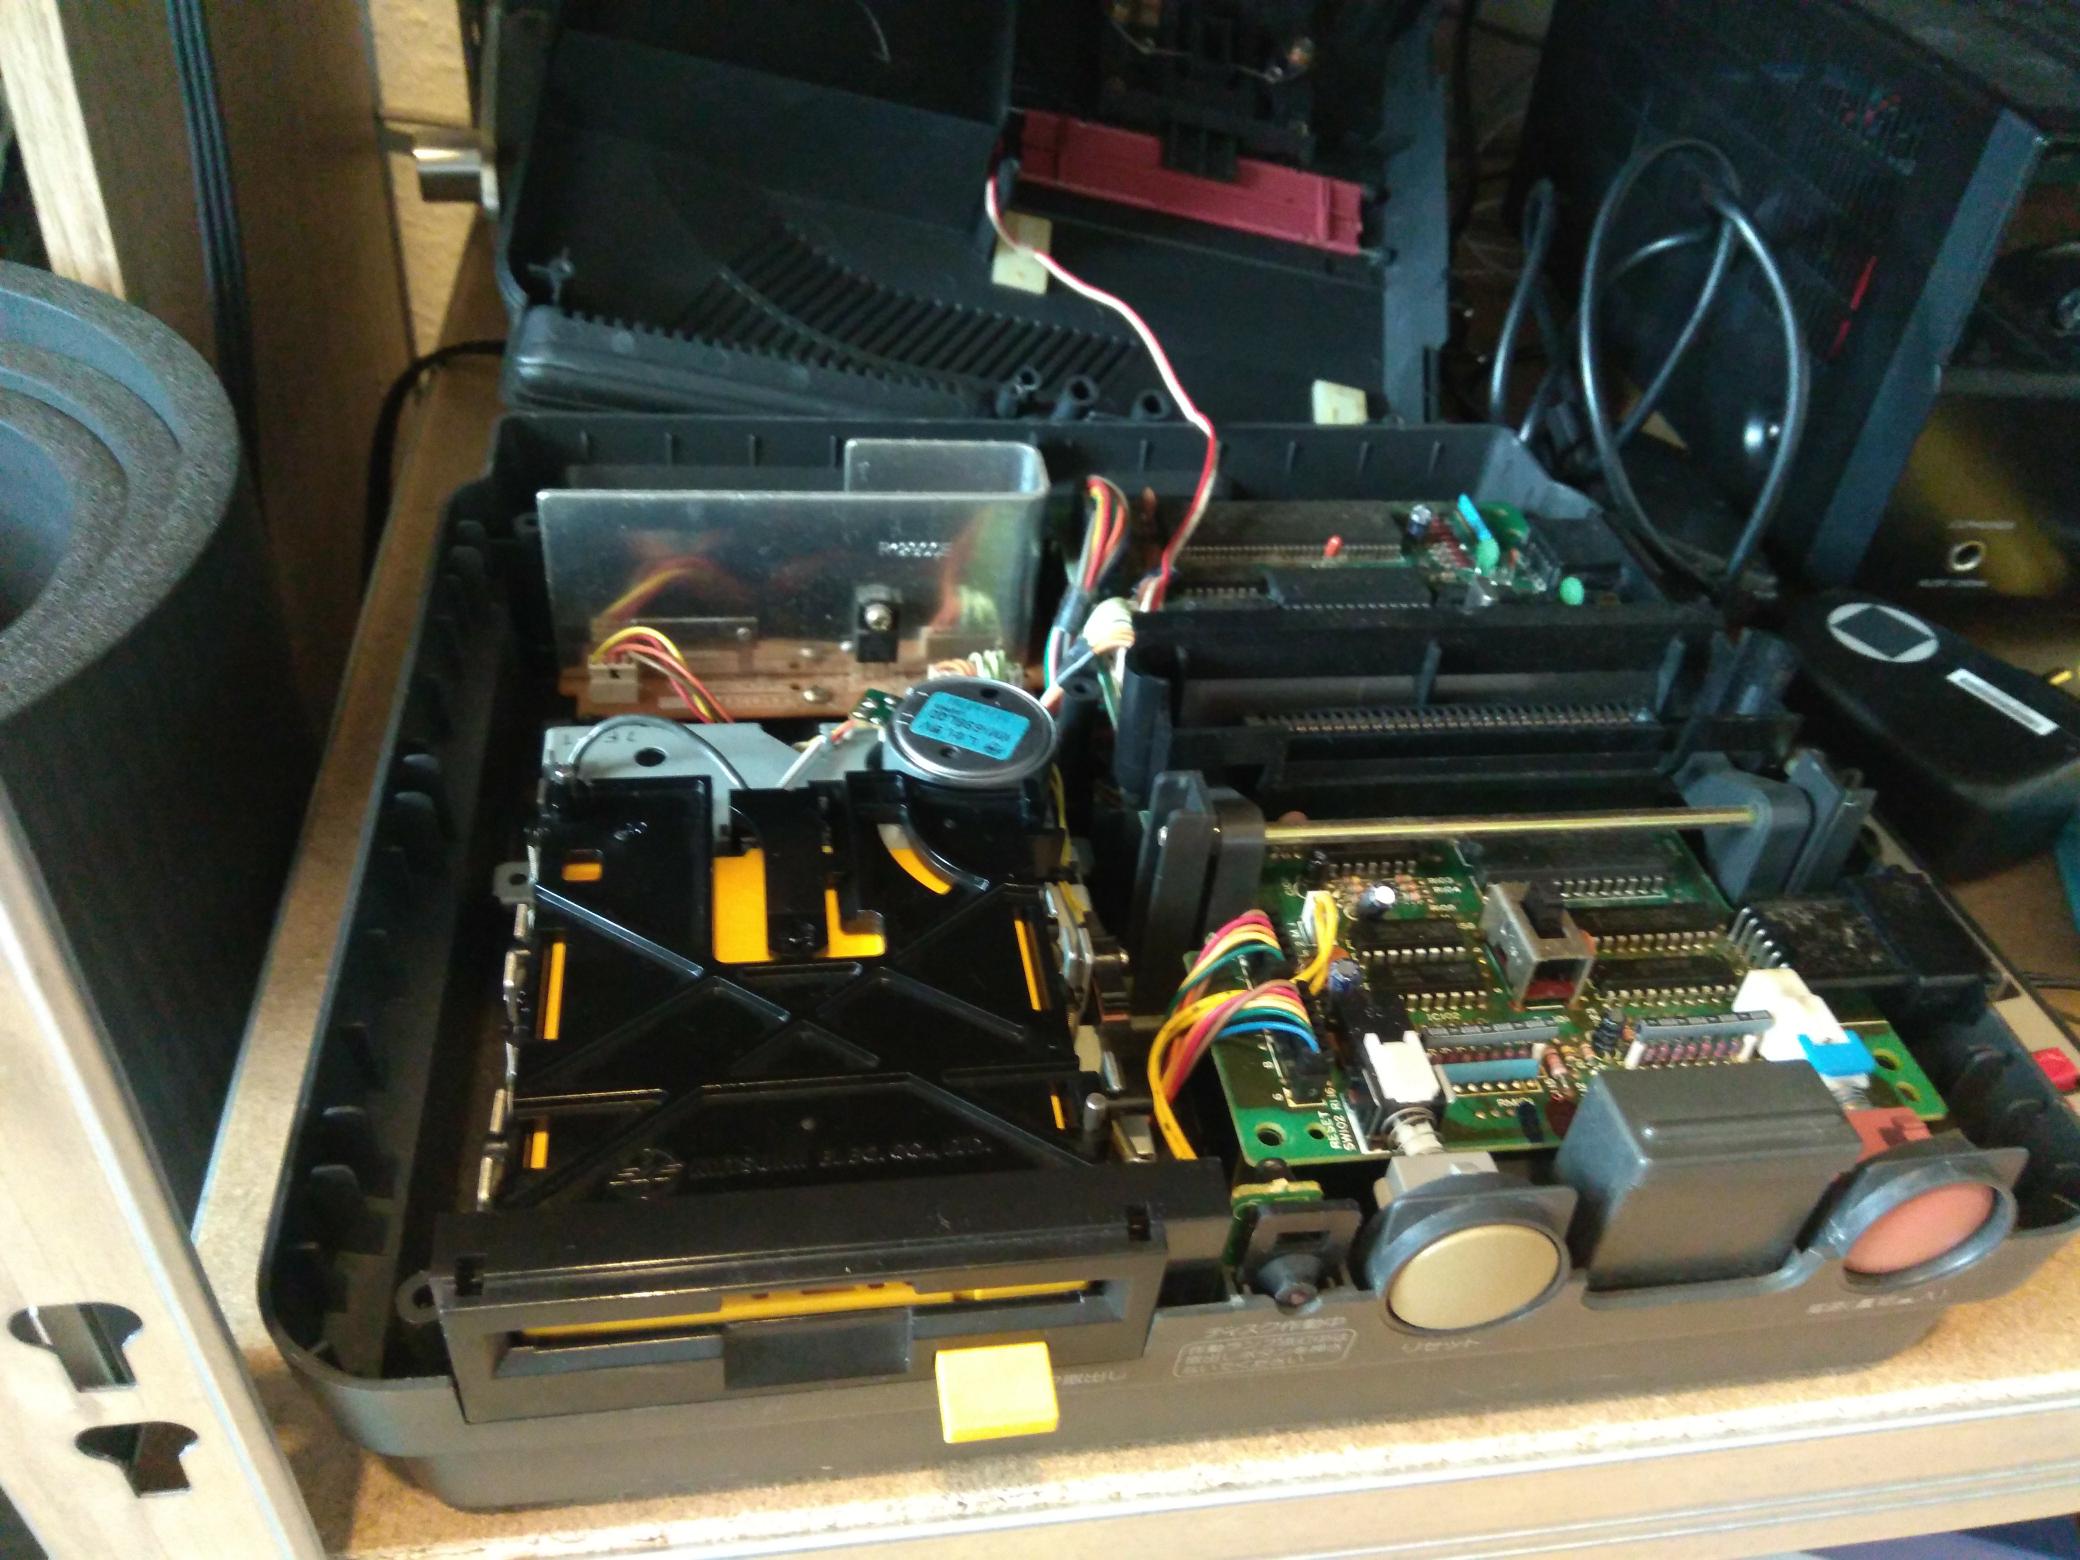
I recently got a Sharp Twin Famicom for around 70€. This is rather cheap, they usually go for over 200€ in good condition. The Twin Famicom is a Famicom with a built-in Famicom Disk System drive. This was a floppy disk system for the Famicom that was only used in Japan. The one I got worked well with carts (at least with 8BIT MUSIC POWER FINAL), but disks wouldn’t read at all.

The drives on these systems are famous for using really bad belts. I hoped that the only thing broken with my system would be the belt, so I opened it up (it’s very straight-forward), and sure enough, the belt was half ripped apart and half fused with the gears.
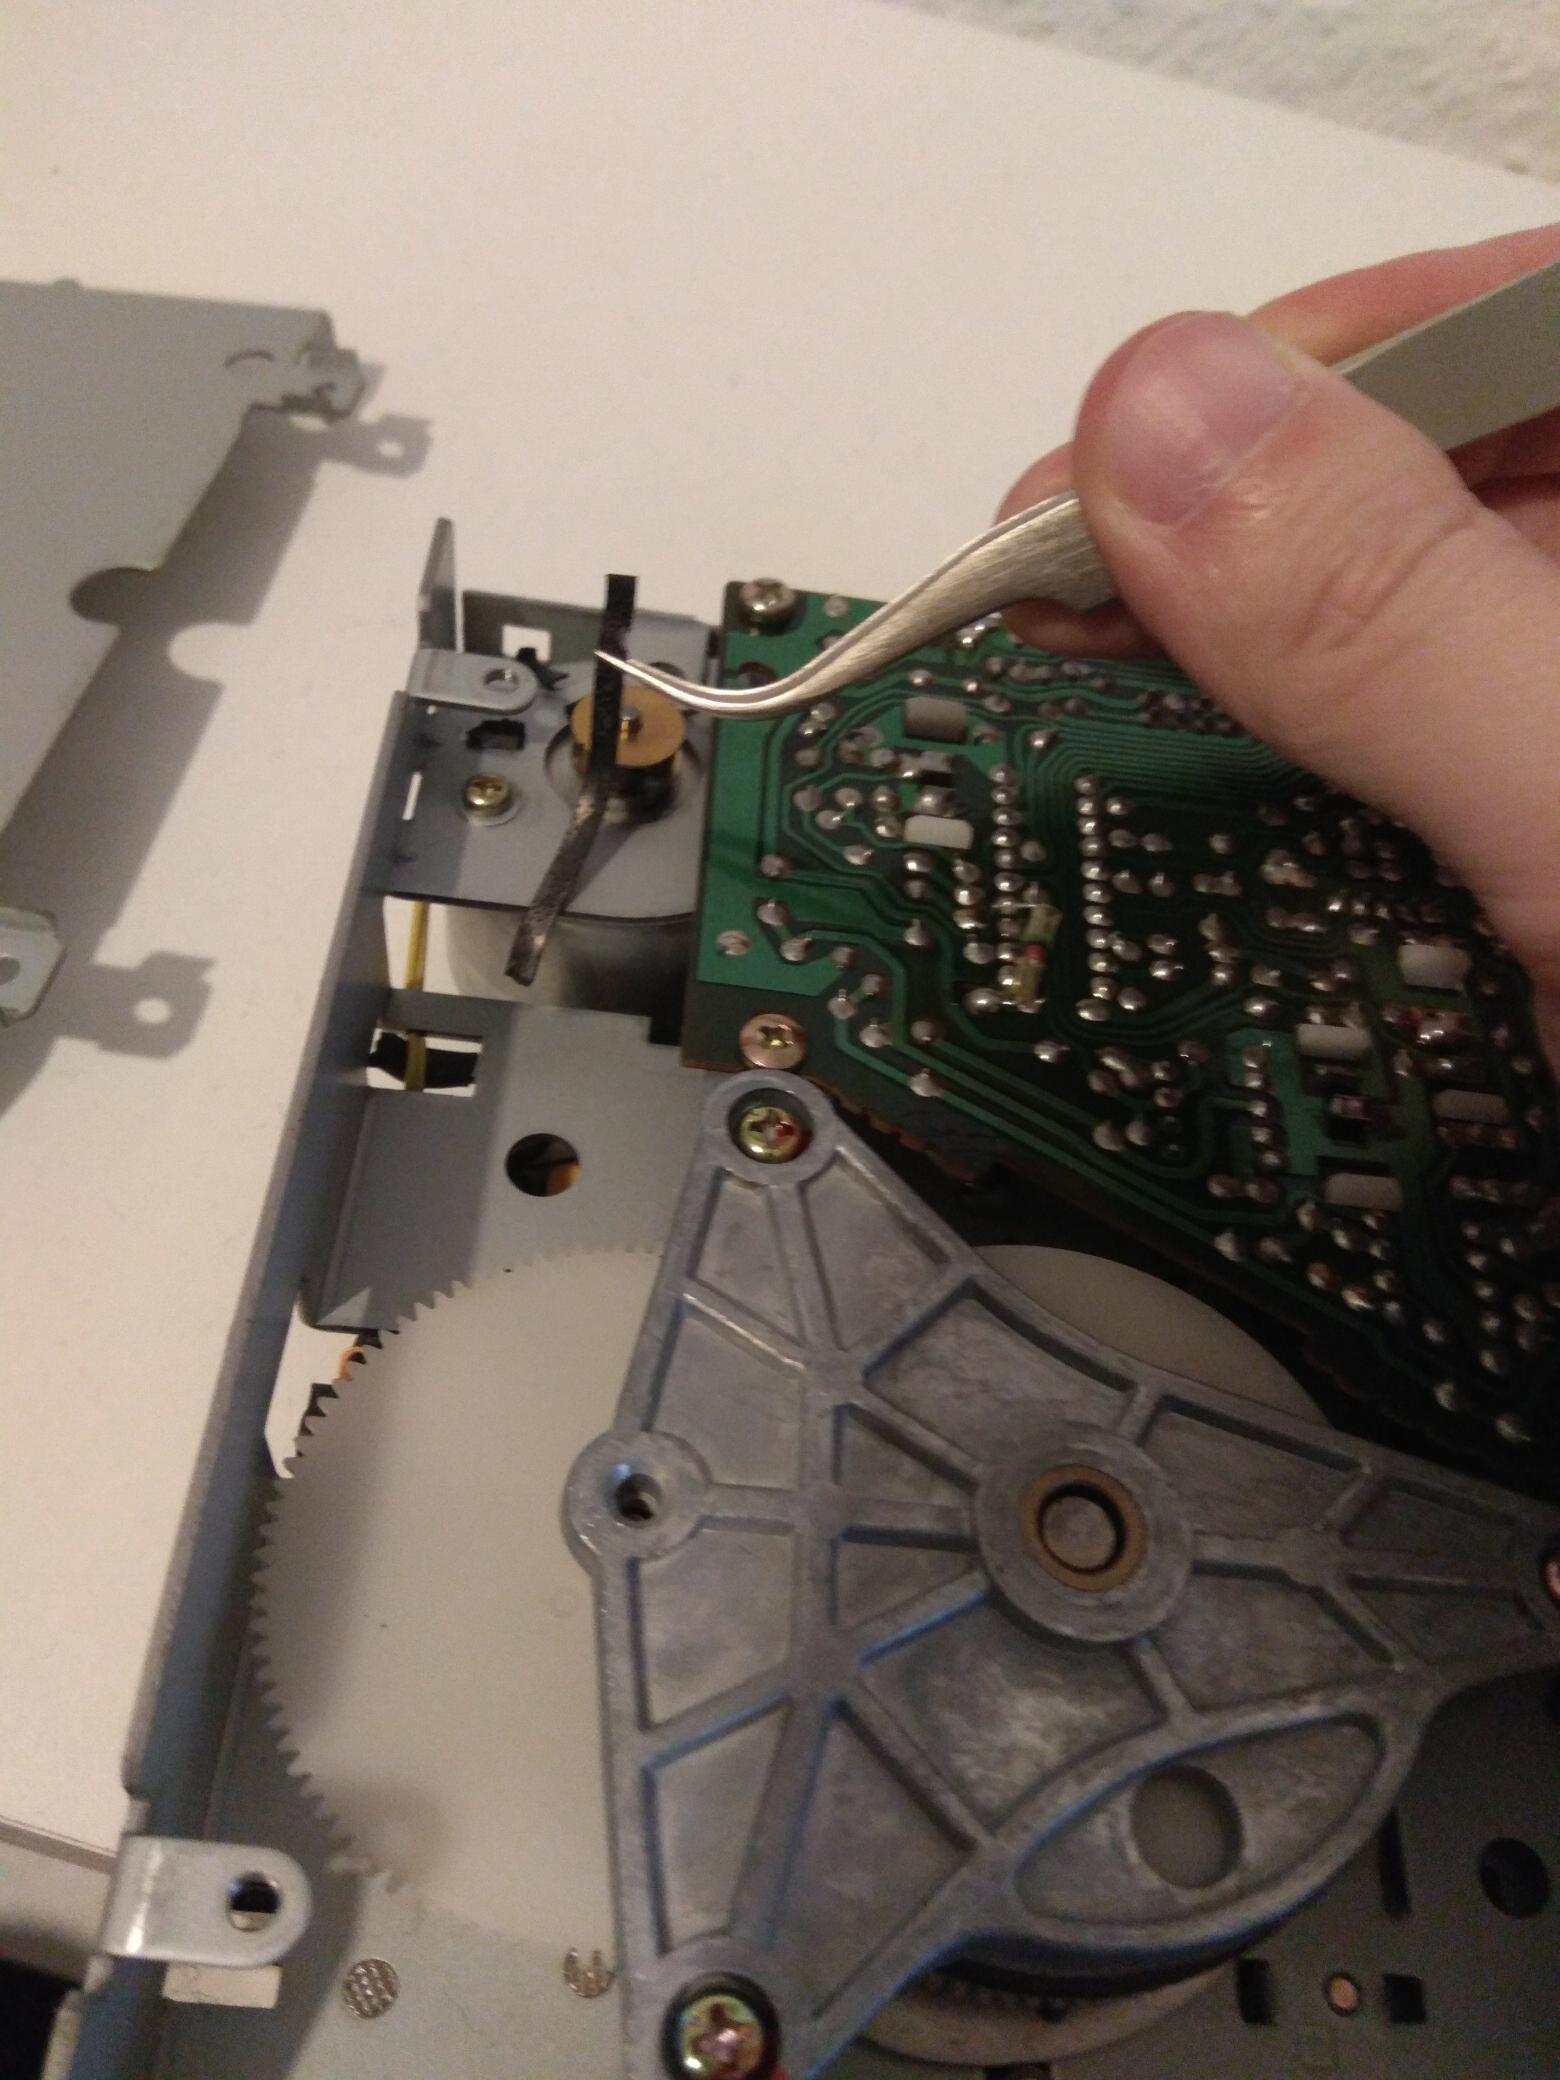
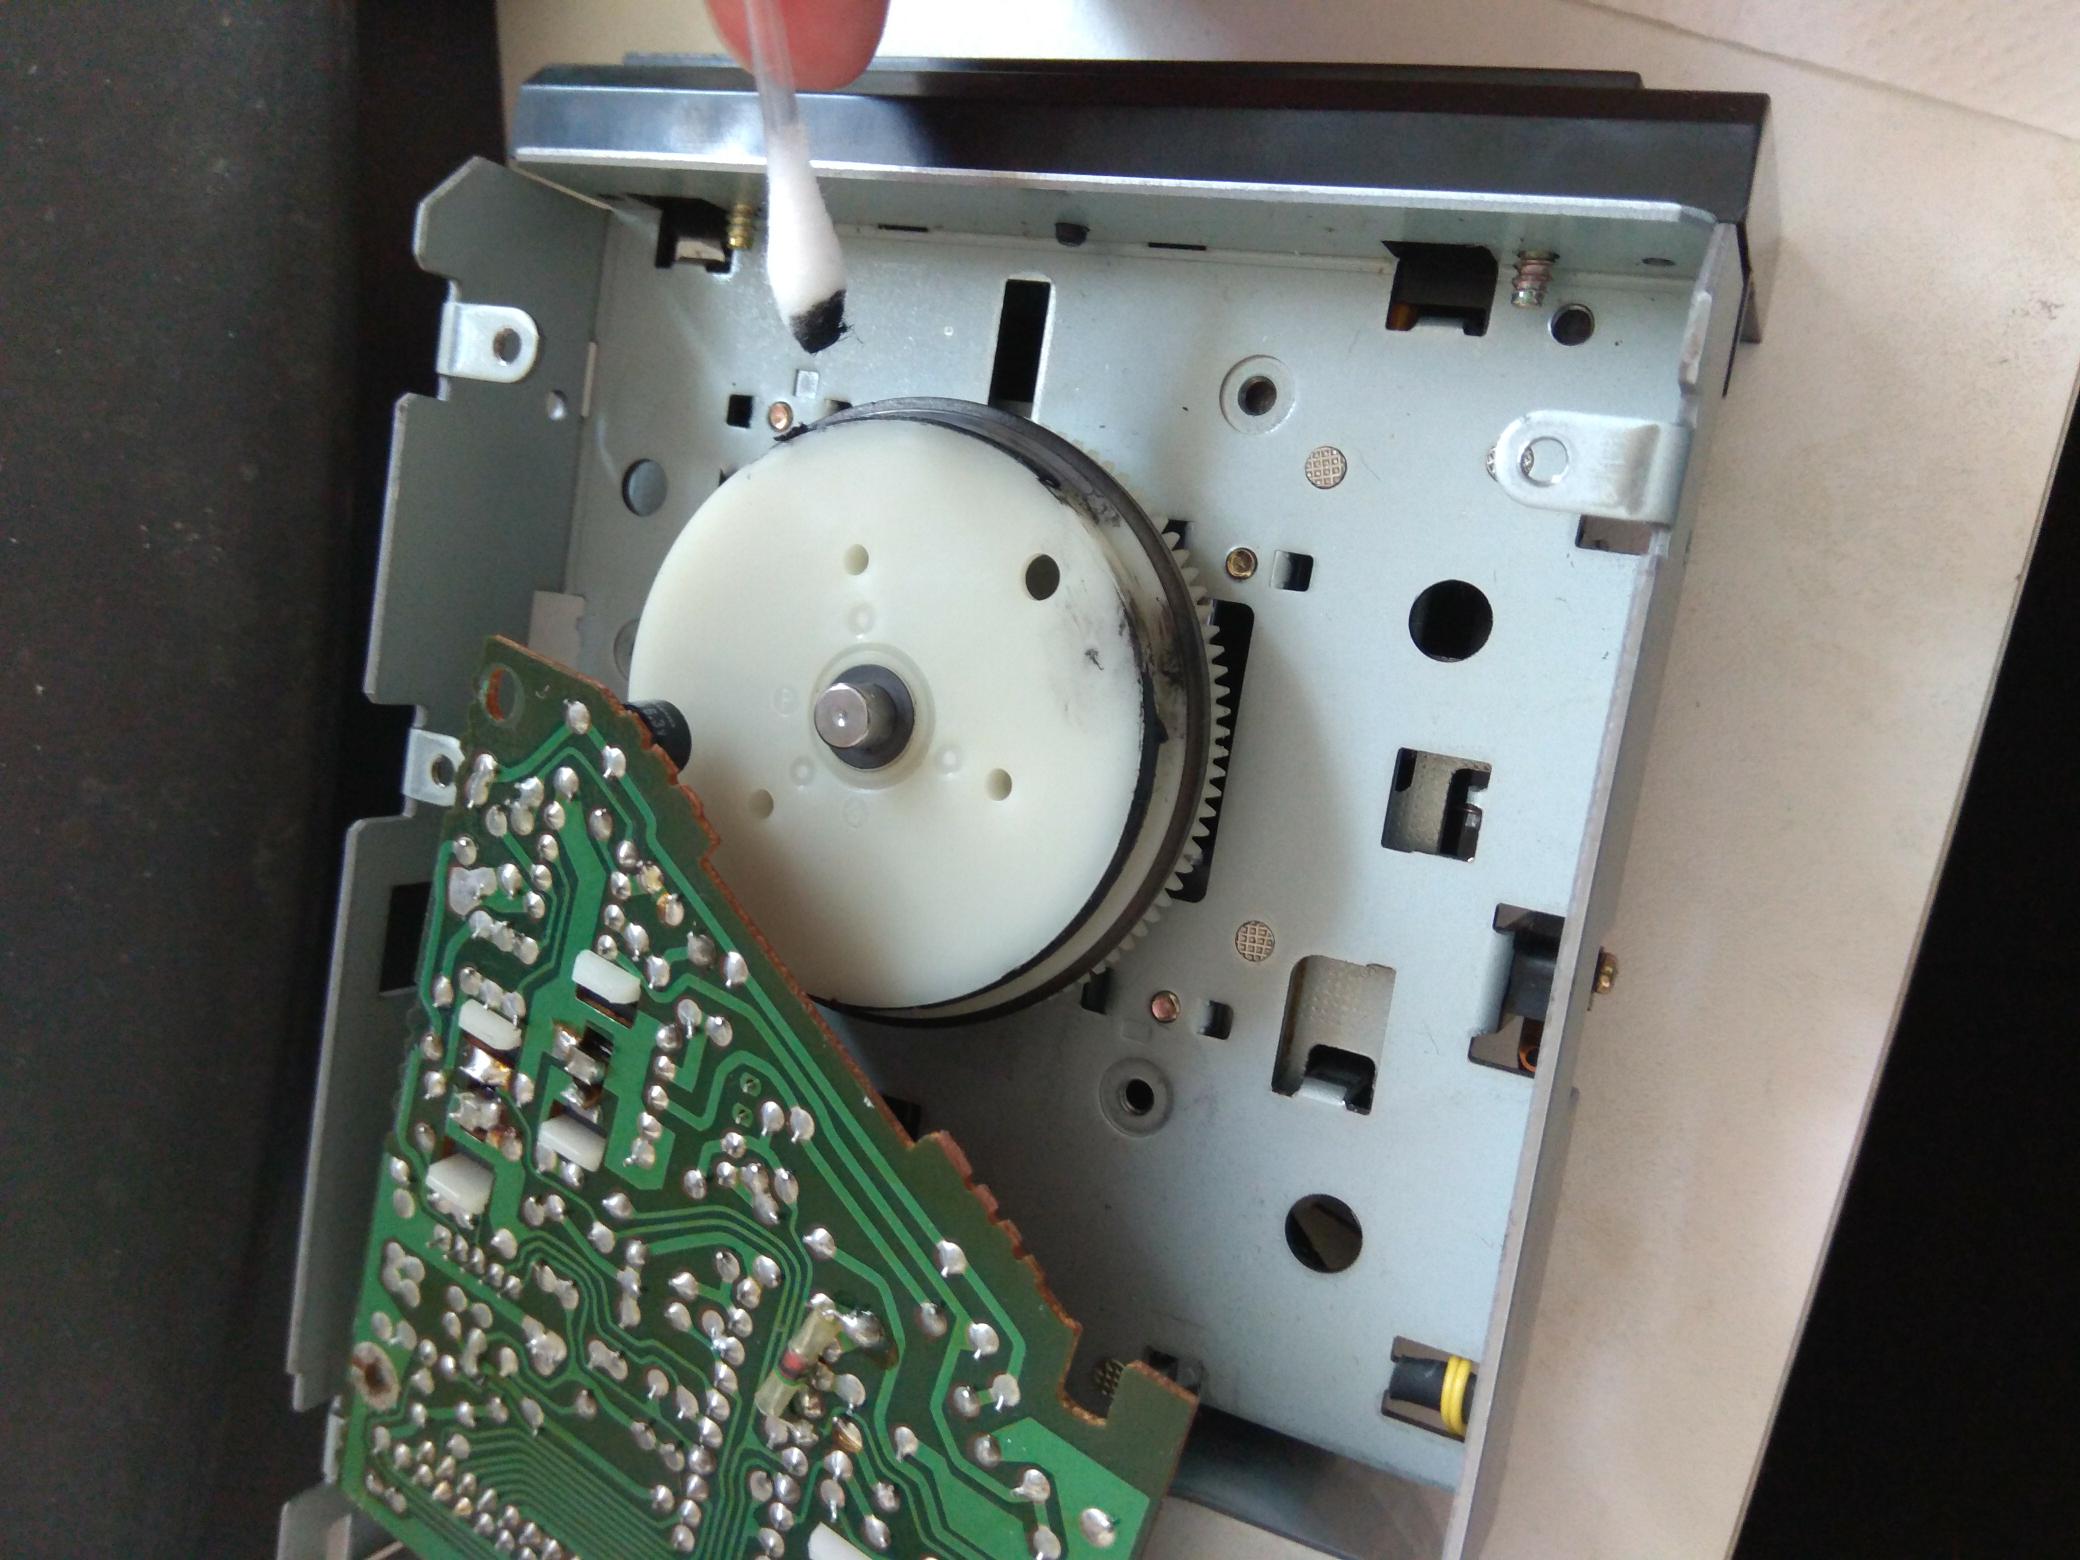
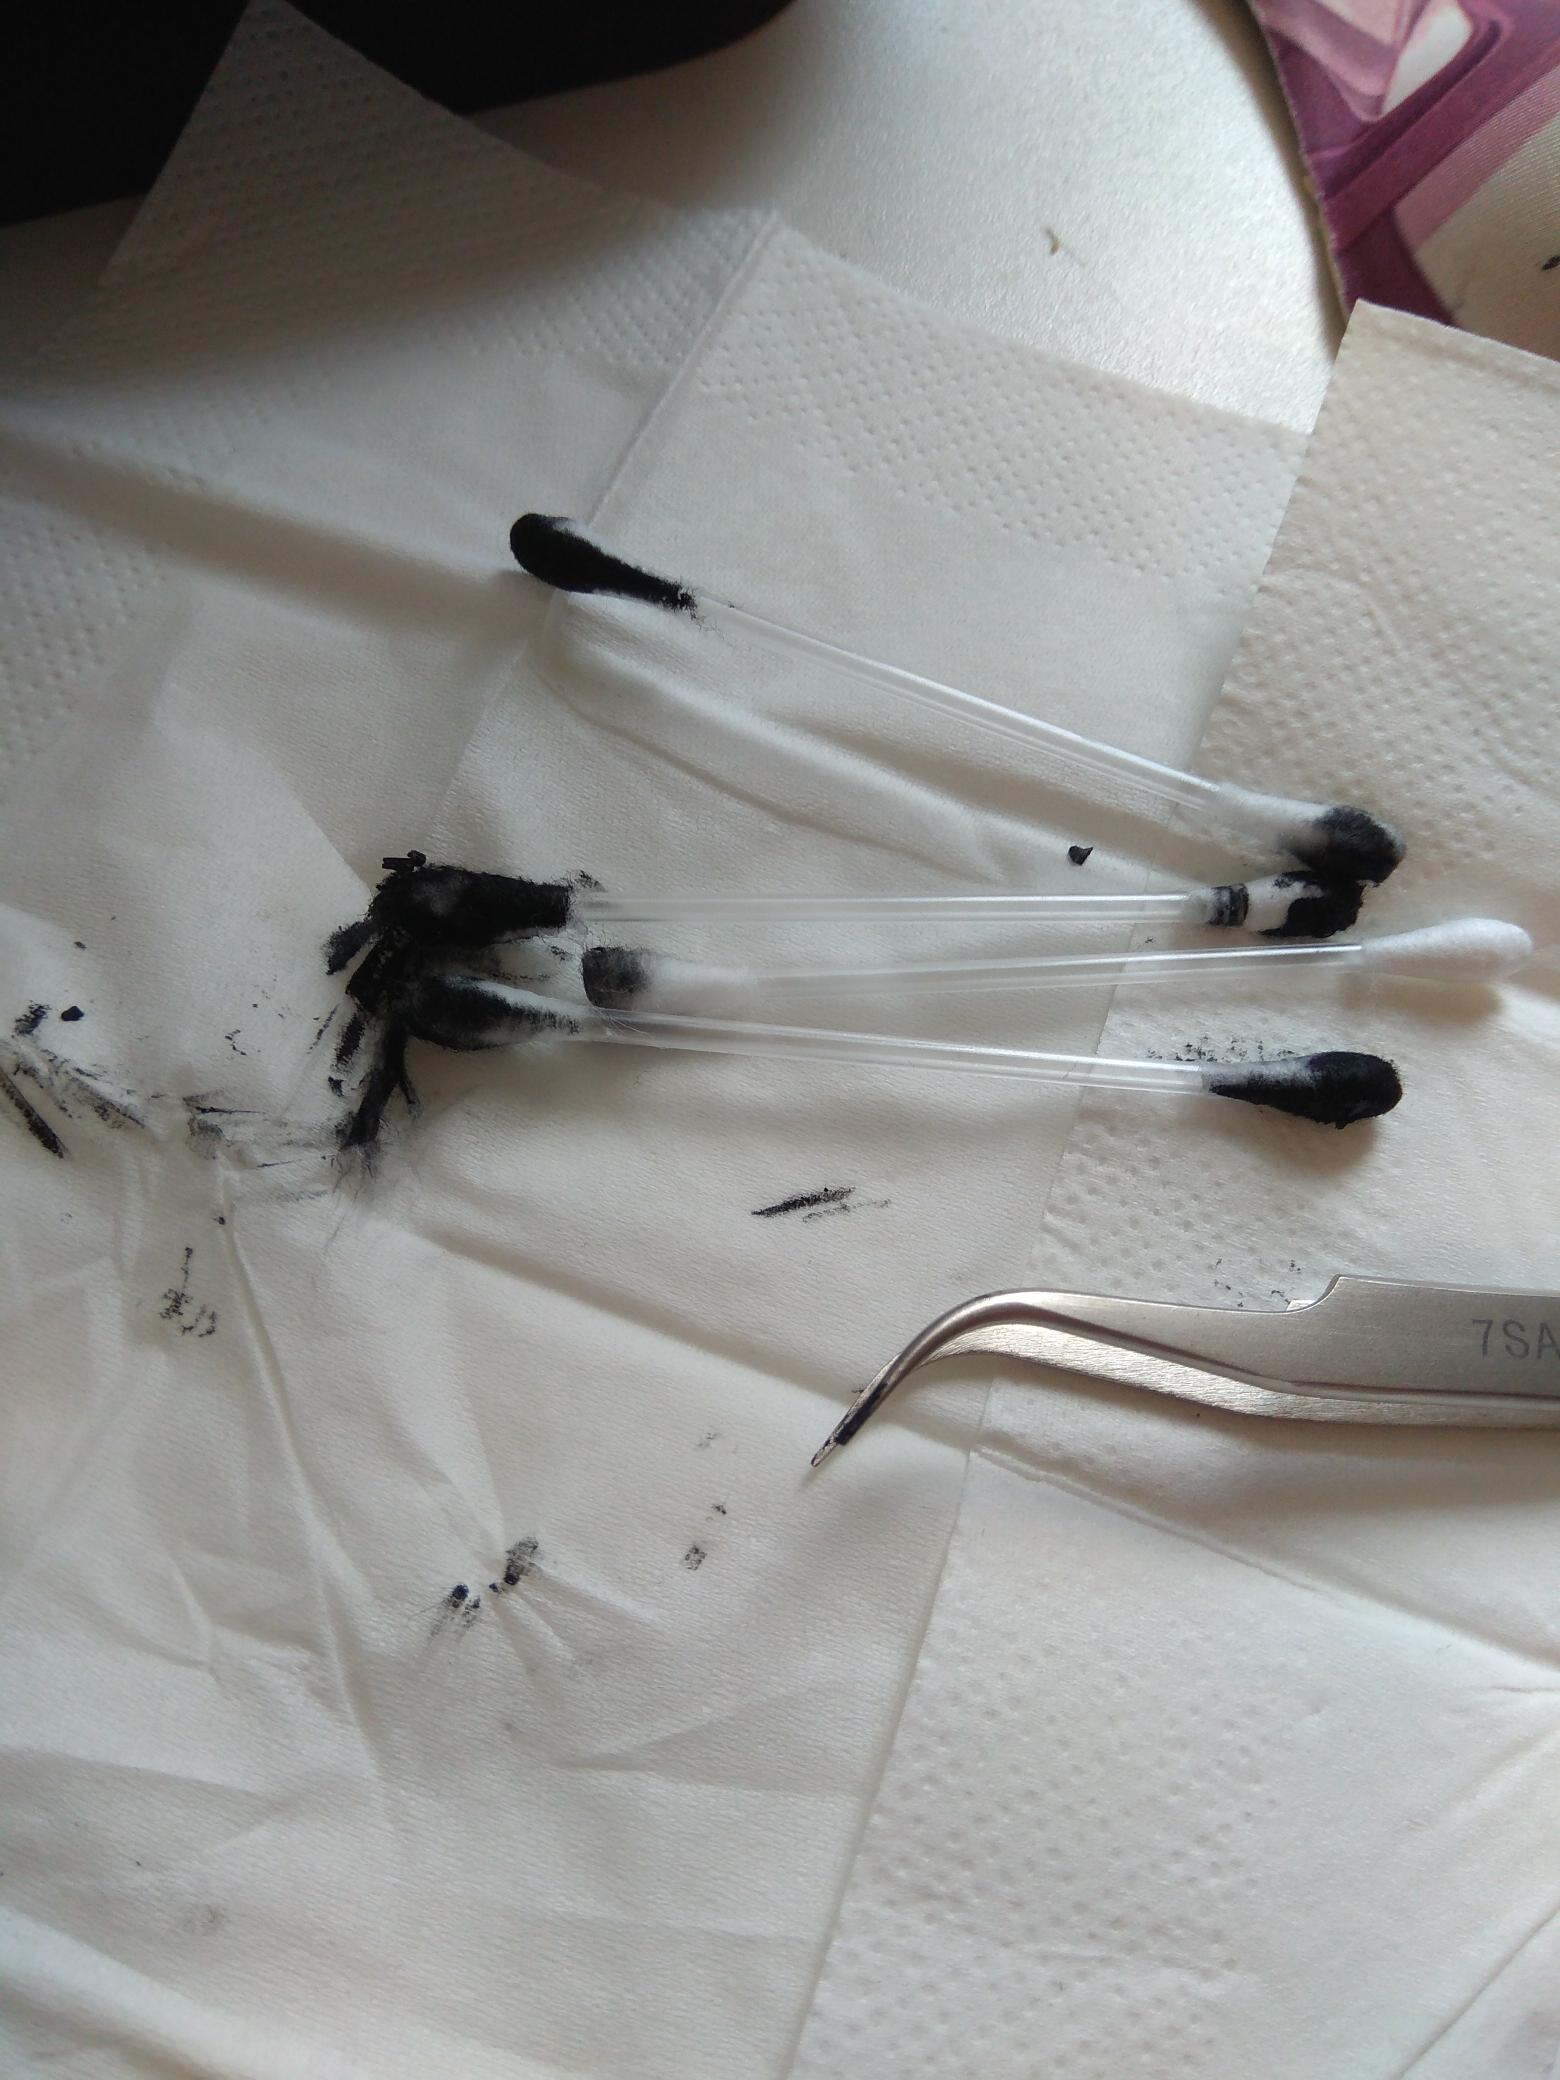
I ordered a new belt on ebay, which arrived a few days later. It’s important to first remove all the residue of the old belt. At it was sticking very firmly to the gears, I used some rubbing alcohol to remove it. This took 15 minutes or so.
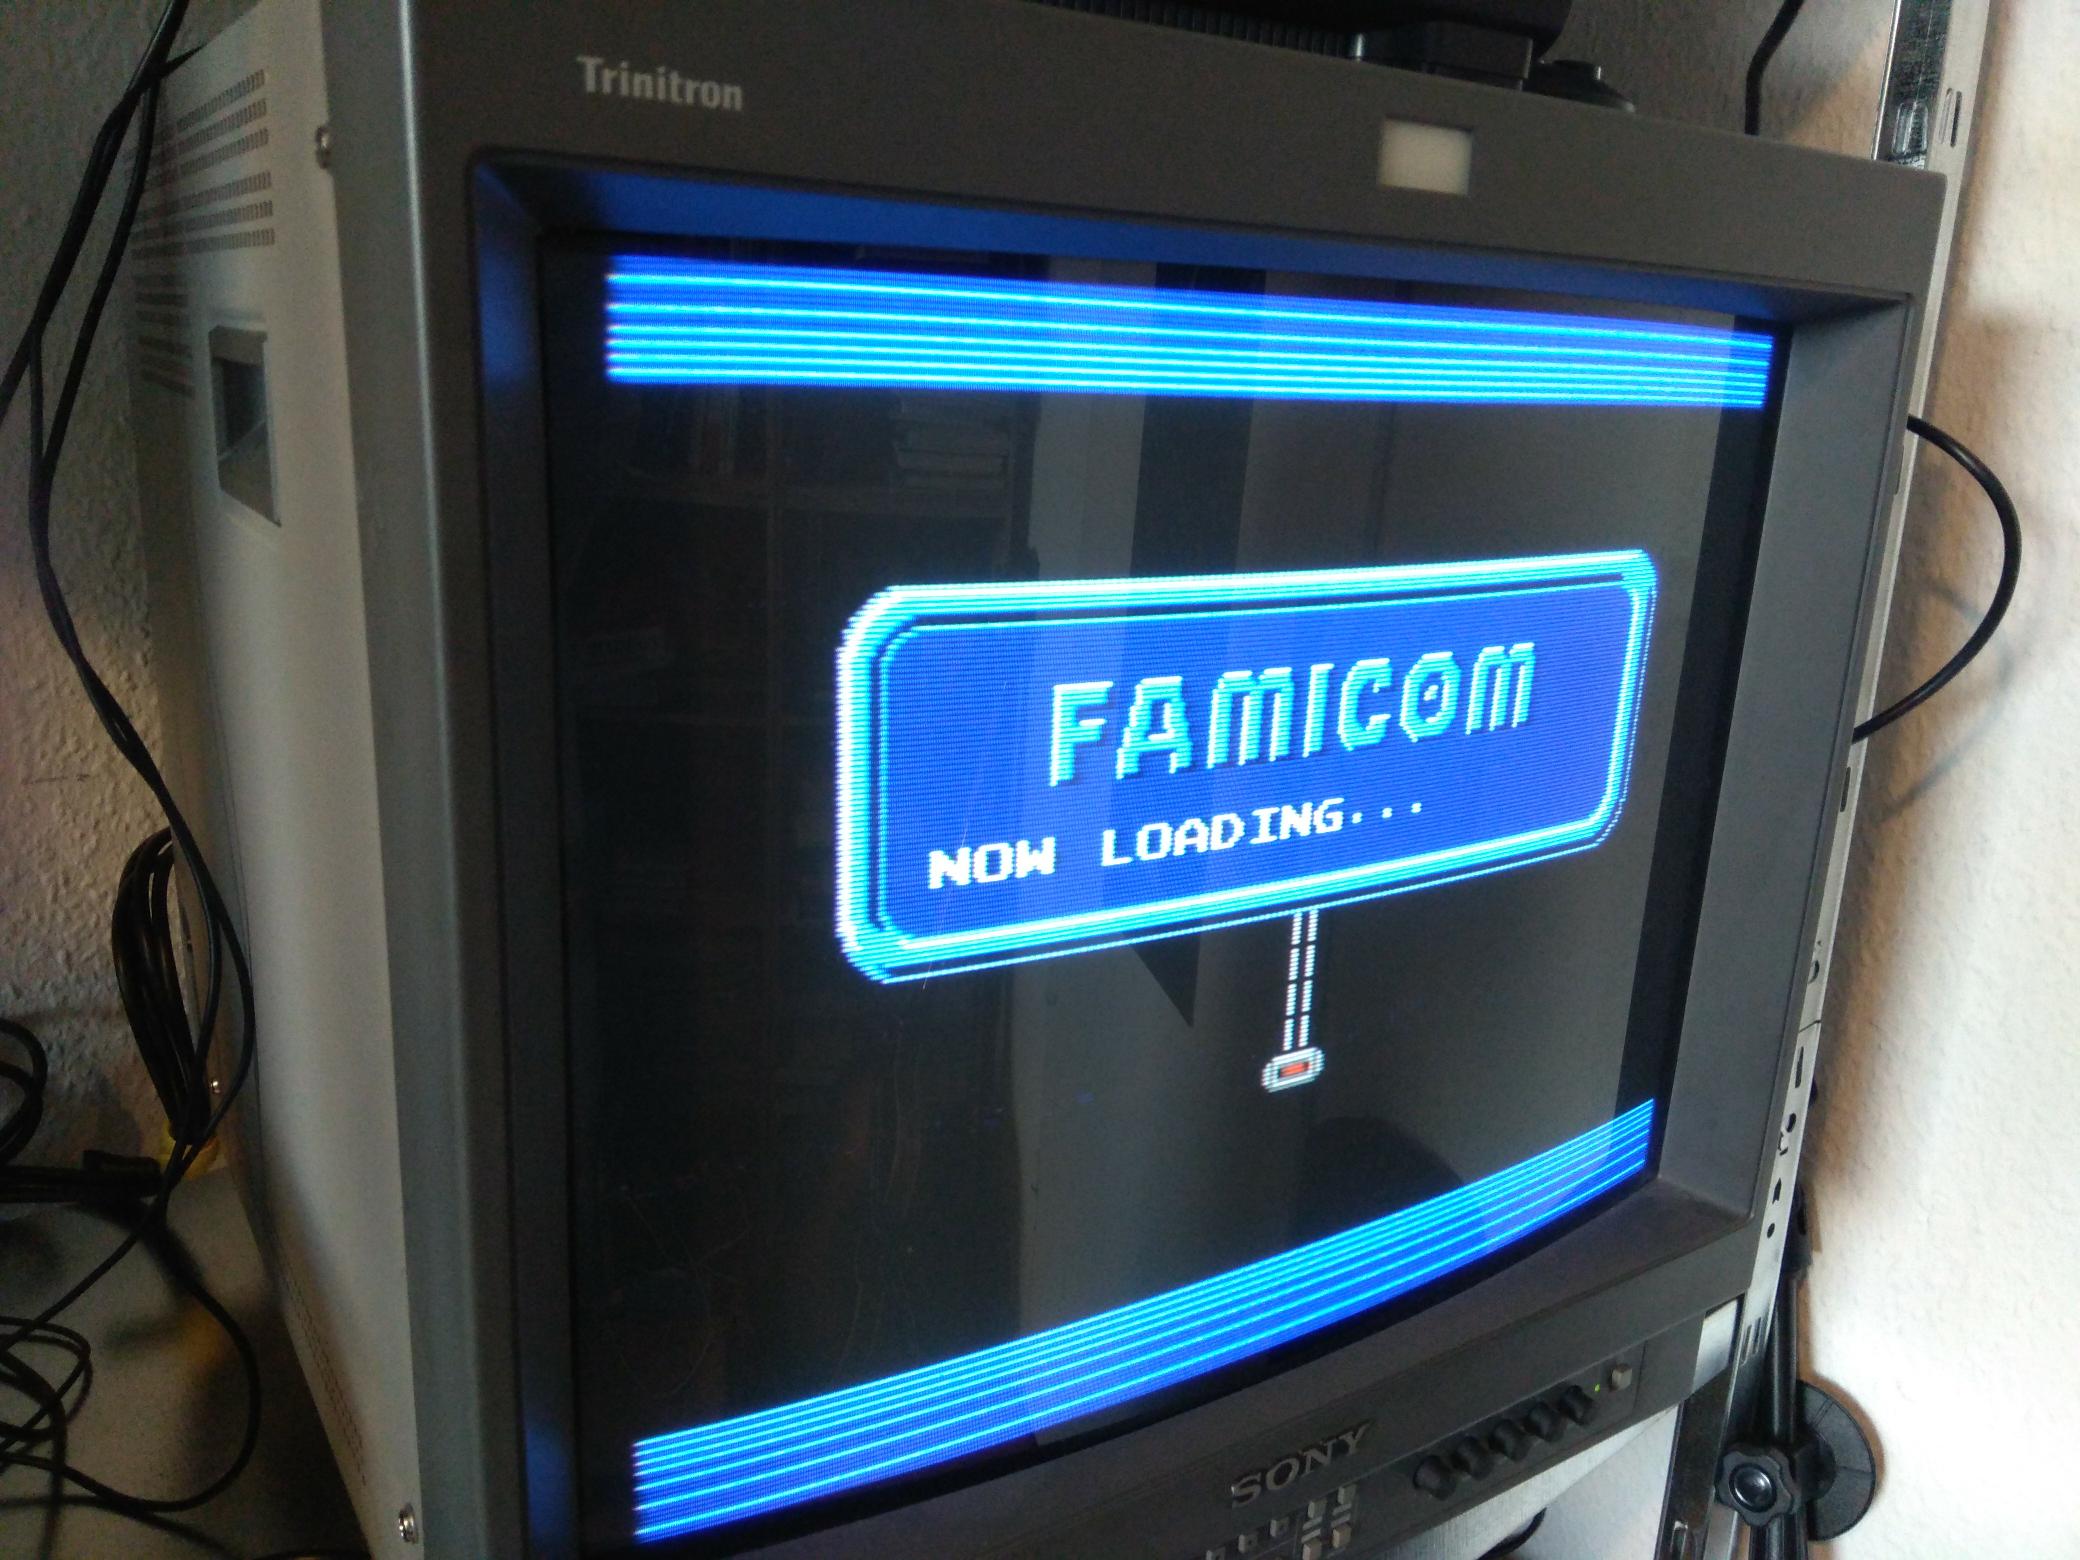
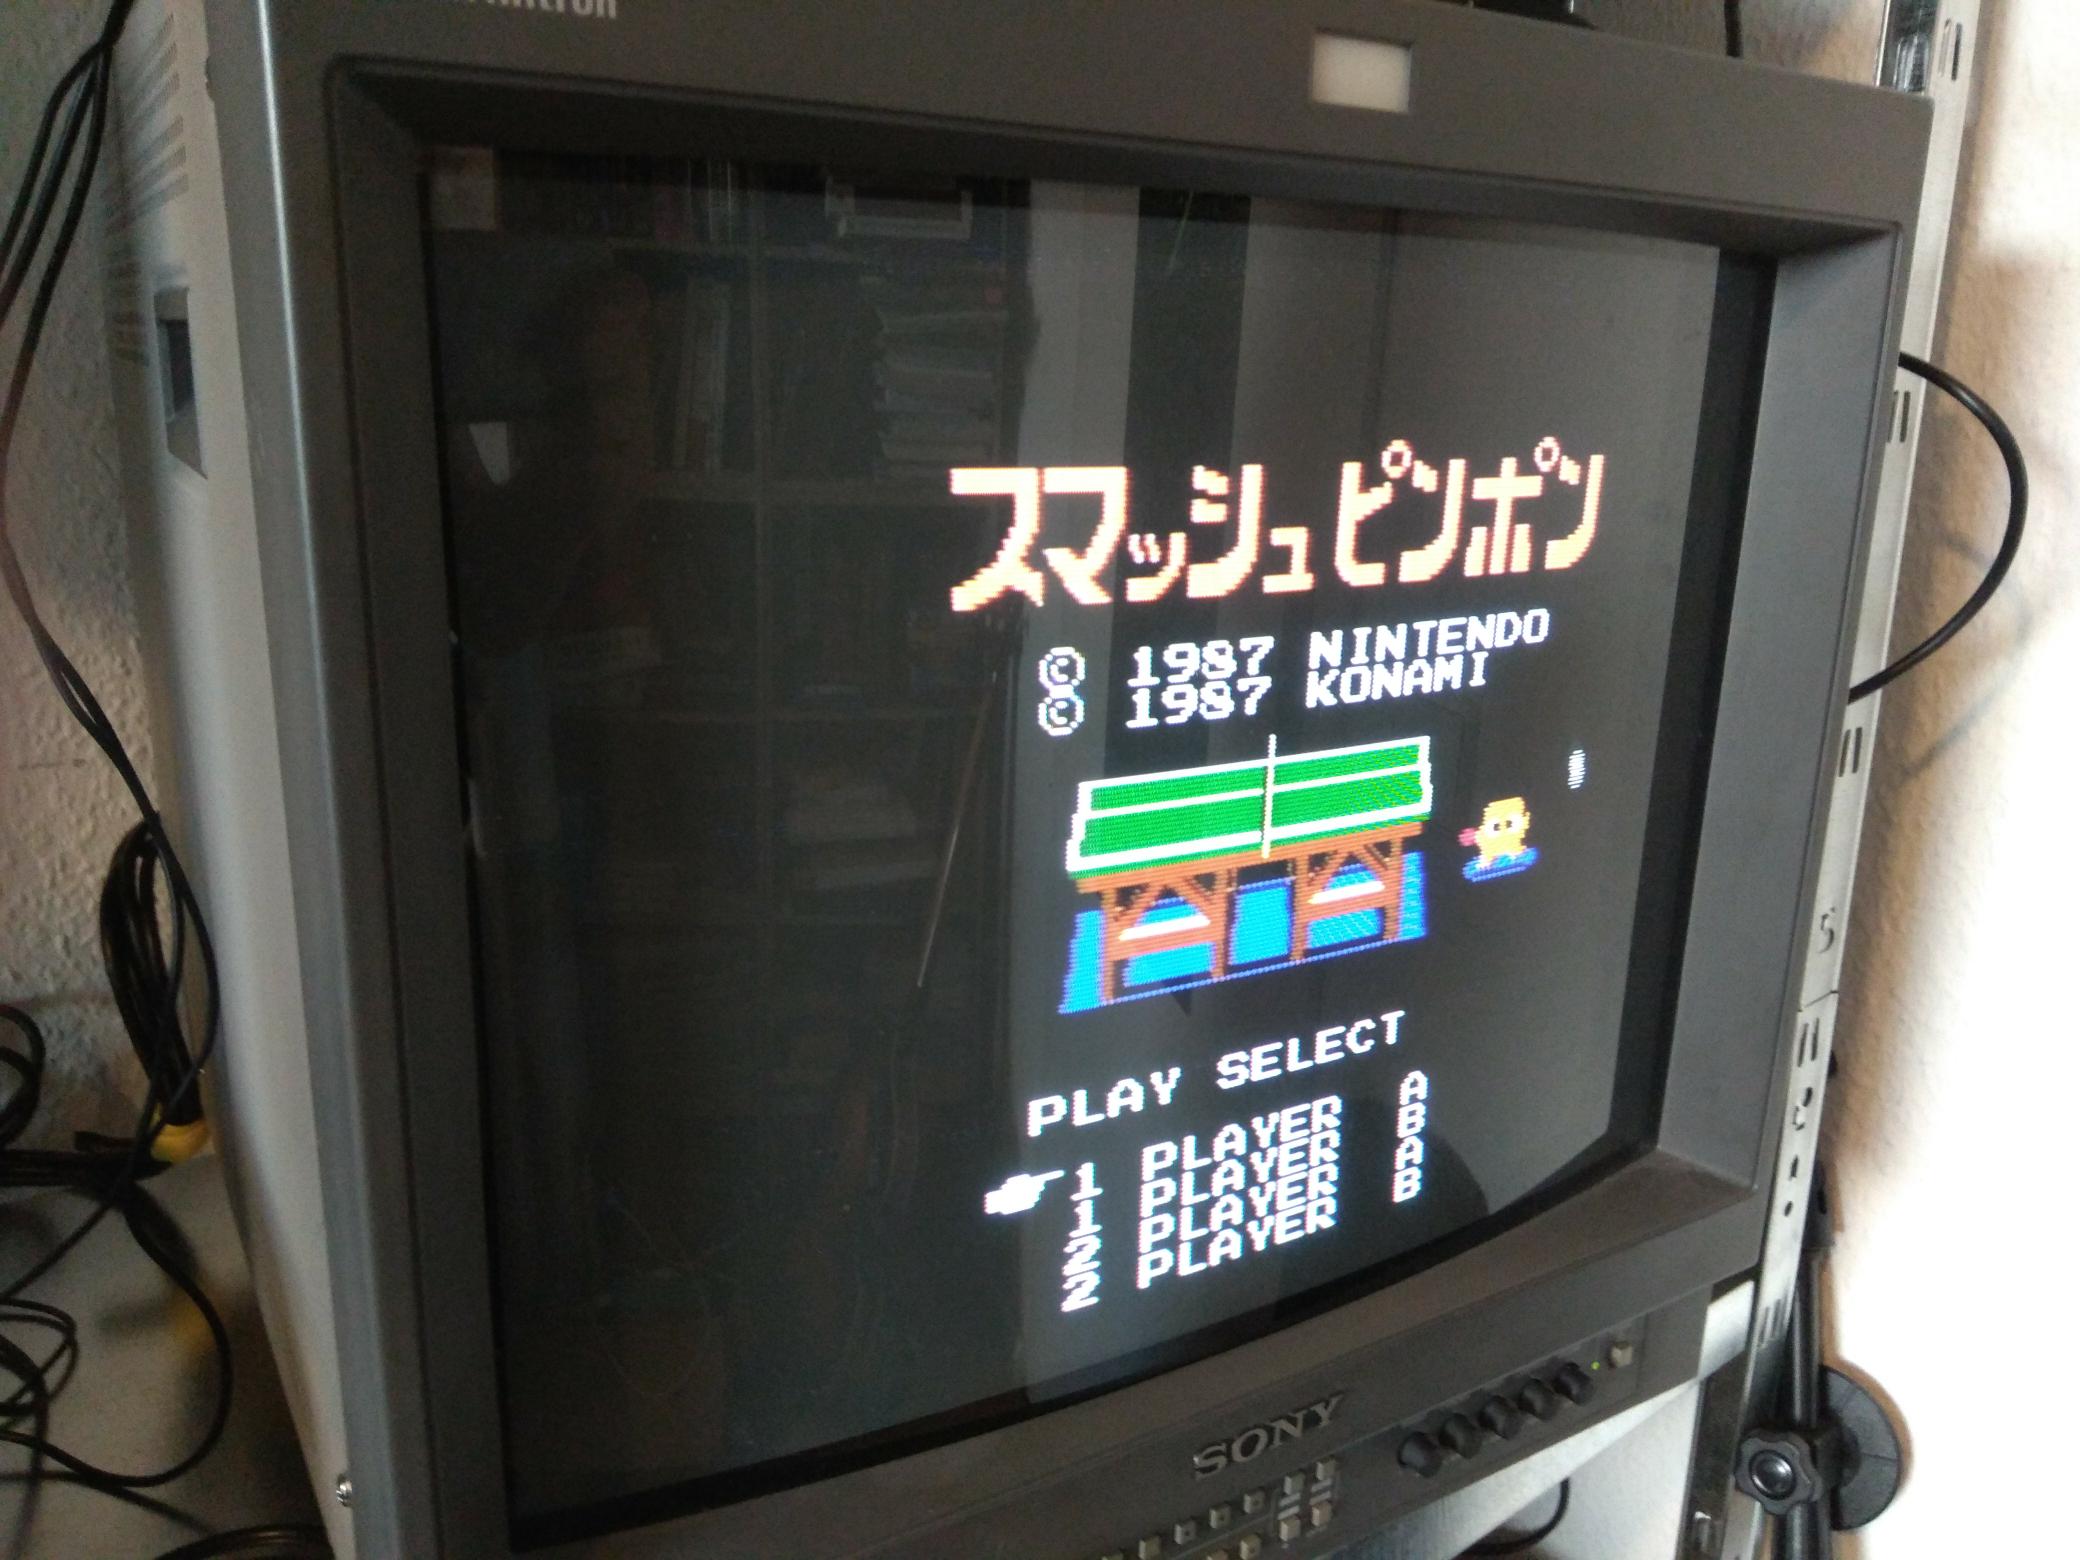
I followed this video to replace the belt, which worked very well, except the final part. The spindle hub alignment seemed to be off, as I now got read errors for the disk, even though the new belt worked just fine. I added some WD40, but that didn’t seem to help. After using this guide to align the spindle hub, the disk drive started working fine and loaded up the wonderful game “Smash Ping Pong”.
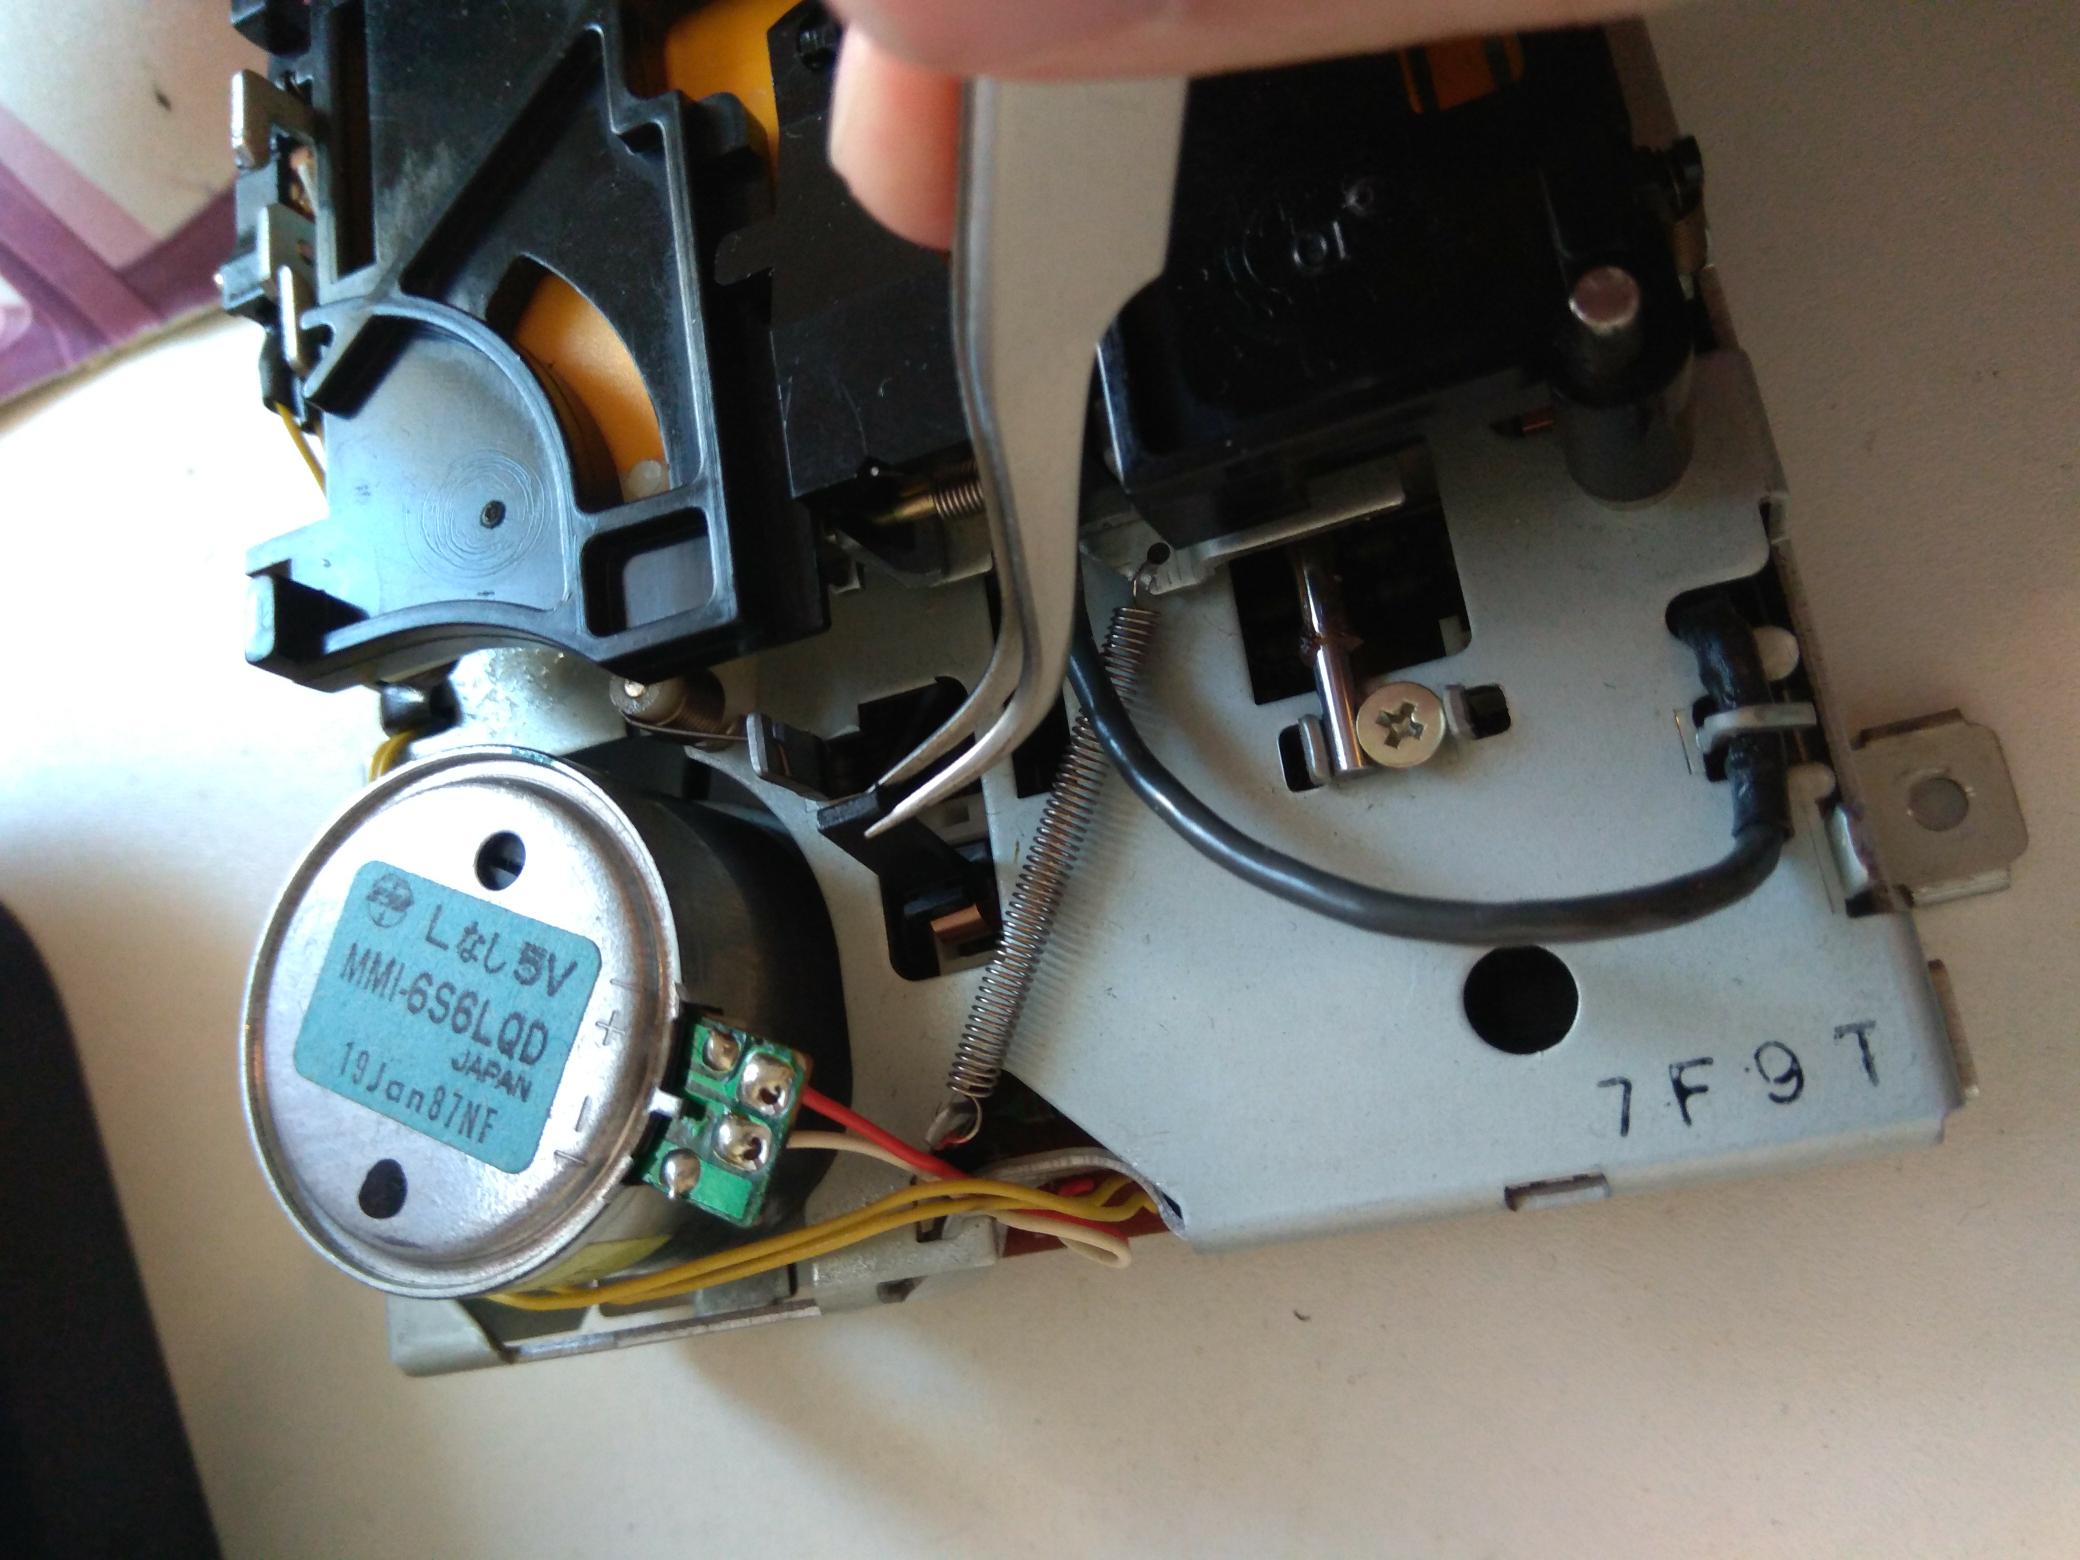
Happy about my success, I closed up the system, started it up - and received read errors again. After opening it up again, I saw that the reading mechanism didn’t fully retract. This was because the switch that is used to detect a full retraction was bend down too much, so it actually prevented the movement of the reading mechanism. In the picture you can see the part in question. I bend it back a bit, closed it up again, and it started to work fine.
The Twin Famicom is fully functional now. The disk drives on these systems seem to fail a lot, but at least they are rather easy to fix.